
Reviewed · PHOTOGRAPHY SESSIONS
Tokyo Cyberpunk Street Photo Tour
Tokyo night streets are a photographer’s cheat code. This Shinjuku to Shibuya after-dark shoot pairs neon-heavy city scenes with hands-on coaching on camera settings, including long exposure tricks you can use right away. It is also designed for real people, not just gear nerds, with guidance for both cameras and smartphones.
I like that you get a focused route with a small group, so you can actually ask questions while you are walking, not just pose at landmarks. Kabukicho, Memory Lane, and Shibuya Crossing give you a mix of wide crowd energy and tighter alley textures. One thing to consider is that the pace can be brisk, and Shinjuku is huge, so you will want to find the meeting spot calmly and be ready to keep moving.
Cyberpunk Night Photo Tour, The Parts That Matter Most
- Shinjuku start at 7:00 pm, when neon signs and commuters turn on
- A pro instructor focused on street shots and candid moments, not only pose practice
- Stop mix that works for both smartphone shooters and camera users
- Kabukicho and Omoide Yokocho for contrasting light and composition challenges
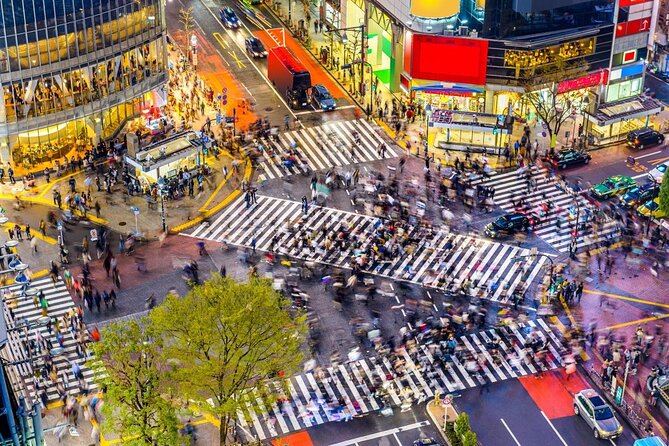
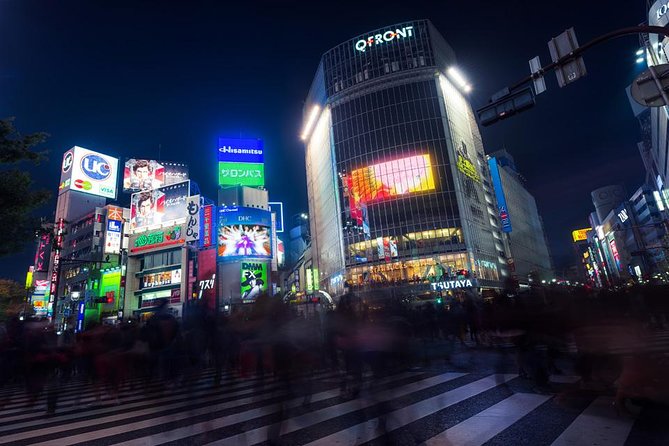
- Shibuya Crossing for the long-exposure look and crowd motion
- Max group size of 4 travelers, which usually means more attention per person
Why Tokyo’s Neon After Dark Feels Like a Photo Course
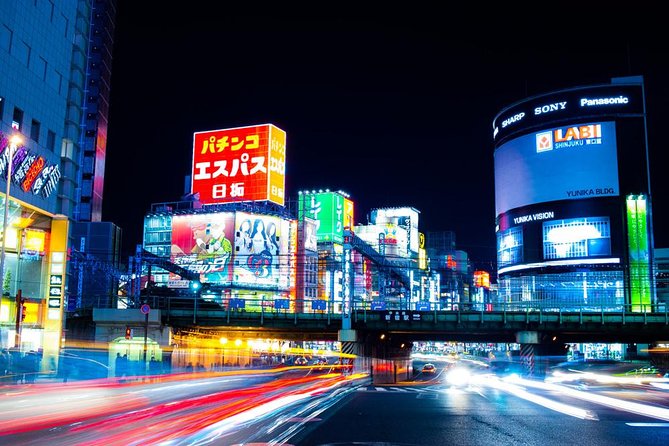
If you have ever tried to photograph Tokyo at night on your own, you know the problem fast. The city is bright, but your photos can still come out flat, blurry, or too dark in the wrong areas. This tour is built to solve that. In about 2.5 to 3 hours, you follow a tight nighttime path and get practical guidance you can apply immediately while the scene is still in front of you.
I especially like the “camera reality check” vibe. Your instructor focuses on what settings do in the real world, like how shutter speed changes crowd motion and how exposure decisions affect neon signs. It is not just theoretical. You practice while you are surrounded by the lights you came for.
The other big win is the neighborhoods. Shinjuku and Shibuya are Tokyo’s night energy centers, and you get both the big public spectacle and the smaller, moodier side streets. You are not stuck in one photo spot. You move often enough to keep the lighting changing, but not so much that you never learn.
A few more Tokyo days worth comparing
- Best Go Kart Experience in Shibuya Crossing with Iconic Photos
★ 5.0 · 348 reviews - Tokyo Go-Karting Experience: Shibuya Crossing with Photos
★ 4.8 · 190 reviews - Tokyo by Night Photography Tour (Private Option Available)
★ 5.0 · 151 reviews
Route Through Shinjuku, Omoide Yokocho, and Shibuya Crossing
Your tour starts in Shinjuku at the Happy Lemon Keio Shinjuku Shop, located at 1-chōme-1-4 Nishishinjuku. You meet at 7:00 pm, which is smart timing because you are landing after dusk, when signs glow and the streets feel cinematic without being pitch black.
From there, the plan is a three-stop night route:
1) Kabukicho District for about 1 hour
2) Omoide Yokocho Memory Lane for about 30 minutes
3) Shibuya Crossing for about 45 minutes
You also travel from Shinjuku to Shibuya by train, and that train ride is at your own expense. That small catch matters because it changes your total budget a bit, even though most of the value is clearly in the photo coaching and locations.
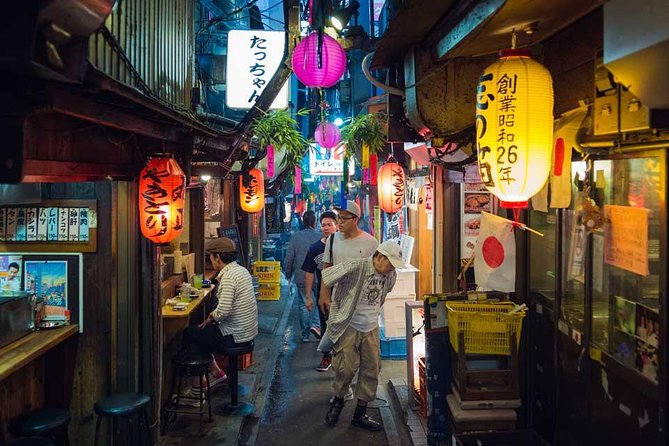
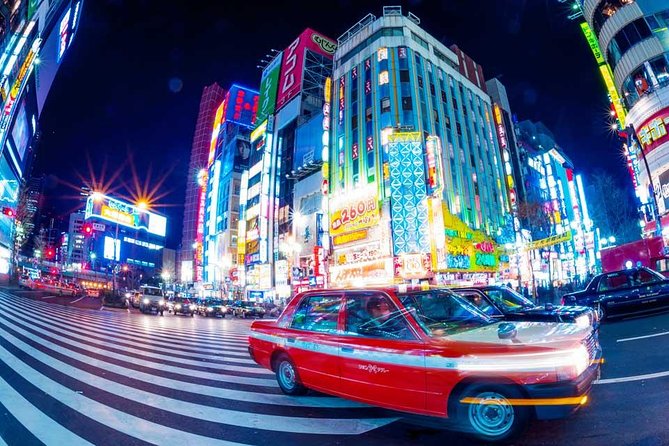
What makes this route work is the lighting variety. Kabukicho gives you bright signage and street-level chaos. Memory Lane gives you narrow lanes and lower, warmer lighting. Shibuya Crossing gives you a wide scene full of moving people, where long exposures can look dramatic instead of messy.
Kabukicho at Night, Neon Sign Shapes and Street-Level Chaos
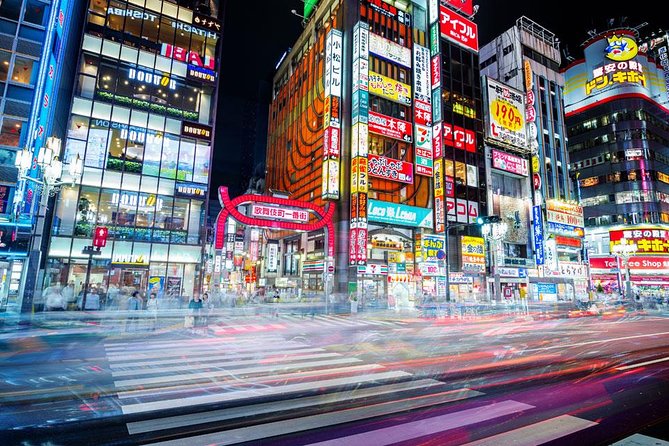
The first hour is in Kabukicho, the district around Shinjuku’s busiest station area. This is where you get the classic neon Tokyo look, with signage, crowds, and lots of eye-catching angles. If you enjoy cyberpunk-style city photos, this is the part that feels most like the theme.
In practice, Kabukicho is where you learn the basics that make night photos stop looking like accidents:
- How to compose when there is too much in frame
- How to use foreground elements and signage to create depth
- How to control exposure so lights do not turn into pure glare
A common theme from guide styles in this category is hands-on feedback. In the field, you will likely get quick setting adjustments, plus suggestions like where to stand so the scene actually fits your camera or phone frame. People using only phones often get the most benefit here, because the guide can point out which on-screen controls matter for night shots.
The possible drawback is simple. Kabukicho is busy. If you get overwhelmed easily, go in expecting a loud, crowded atmosphere. It is amazing for photos, but it is not a quiet walk.
Omoide Yokocho Memory Lane, Narrow Light and Better Story Shots
Next you head to Omoide Yokocho Memory Lane, where the vibe shifts. This area is known for narrow lanes and tiny details, which is perfect for street photography because you can work small and close.
This stop is only about 30 minutes, so you have to use that time well. The guide’s role matters here. Instead of wandering randomly, you can focus on:
- Tight framing and layering (signs, doorways, faces)
- Capturing candid moments without over-directing people
- Getting less glare and more texture in the final photo
Memory Lane is also where long exposure decisions become more meaningful. With tight spacing and mixed light sources, you will see quickly how shutter speed changes the look of people walking through the lane. Too fast and you freeze the moment. Too slow and you can blur beyond recognition. The coaching helps you land in that sweet spot.
One more practical point: because this is an alley-like environment, you might find tripods difficult depending on space and crowds. If you want slow shutter shots, consider a stable surface or support instead of taking up sidewalk space.
Same corner of Japan, a different kind of day:
- Mt Fuji and Hakone 1-Day Bus Tour Return by Bullet Train
★ 5.0 · 26,383 reviews - 1-Day Tokyo Bus Tour
★ 5.0 · 14,250 reviews - Tokyo: TOKYO SKYTREE® Admission ticket
★ 4.5 · 11,192 reviews - Tokyo: teamLab Planets TOKYO Digital Art Museum Entry Ticket
★ 4.6 · 9,779 reviews
Shibuya Crossing, Long Exposure Magic in a Crowd Scene
The finale is Shibuya Crossing, the intersection that is often associated with the Blade Runner film look. Even if you are not into pop-culture references, the real reason this spot works is crowd motion. You are photographing thousands of people in real time, so there is always something changing.
You get about 45 minutes here, which is a good amount of time. It lets you shoot from a couple of angles and try a few settings without feeling rushed. This is the part that typically rewards experimentation, especially for long exposure effects.
When long exposure goes right, it looks like the street is moving and the lights are still crisp. When it goes wrong, it looks like blurry mush with no subject. That is why having instruction while you are there is valuable. Your instructor can help you adjust based on what you see in your test shots.
For phone shooters, the same challenge exists, just with different tools. You still need to handle low light and avoid overexposure. A good guide can explain what to change and what to ignore in your phone camera settings so the results improve quickly.
Camera and Phone Tips That Actually Save Time
This tour is built around teaching. You are not left alone with a meeting point and a vague suggestion to explore. The instructor is a professional photography instructor, and the emphasis is on street photography and candid moments, using either a camera or your smartphone.
Here are the kinds of practical tips that matter most in this setting, based on the way the instruction is described and the kinds of results people report:
- How to set exposure so neon signs look bright but not blown out
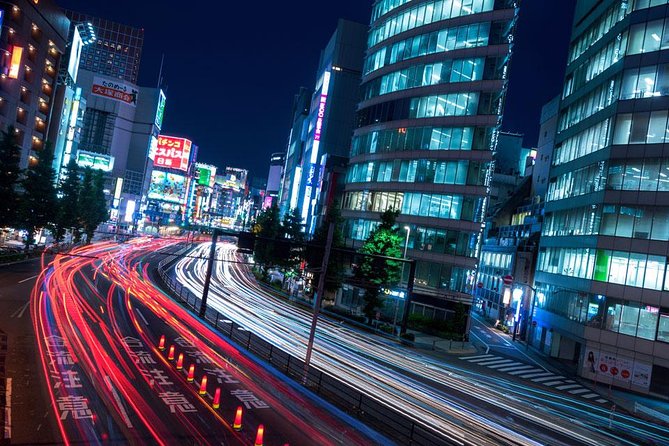
- How to use shutter speed to get crowd motion instead of motion blur everywhere
- How to compose with lines, signage, and people flow as leading lines
- How to spot photo angles before you start shooting, so you waste less time repositioning
- Phone-specific tips, like which controls help you get more consistent night results
One thing I appreciate about this type of workshop is that the teaching tends to be “do it, then fix it.” Instead of a lecture, you practice, then get feedback. If you are a first-timer with a camera, that saves you from spending the whole night fighting the learning curve.
If you bring a camera, a setting that gives you some shutter control will likely make the long exposure part easier. If you only have a smartphone, focus on using whatever night mode or manual controls you have access to, and listen for the instructor’s guidance on what to adjust.
Small Group Size, Patience, and Safety While You Walk
The tour runs with a maximum of 4 travelers. That is not just a comfort detail. It changes how your night goes. You are more likely to get direct feedback instead of being one more face in a group.
Most people come away talking about how helpful the instructor is with settings and how patient the teaching feels, even for beginners. Guides often help you troubleshoot what you are doing wrong, like exposure slider behavior on phones or simple framing fixes.
That said, there is one real consideration. At least some people found that the walking pace can be fast. If you struggle to keep up, you might feel pressure. To avoid that, pace yourself from the start and be ready to move as the group moves.
Meeting in Shinjuku can also be tricky because the station area is massive. If you are even slightly late to the meeting point, it can become harder to reconnect with the group quickly. Arrive a bit early and take a second to confirm you are at the exact spot.
Price and Value, When It Makes Sense
The price is $184.99 per group (up to 2). That means the real value depends on whether you are coming solo or splitting costs with someone.
If you travel as a pair, the price can feel reasonable for three big reasons:
- You get a professional instructor for the whole session, including guidance on settings for both cameras and phones
- You get a curated, after-dark route through high-demand photo locations
- You are in a small group, so instruction time is not spread thin
If you are solo, it is still a solid option if your goal is learning fast and getting strong night shots without wasting hours wandering. The alternative is typically spending your first night in Tokyo experimenting alone, which can lead to frustration, especially with long exposure.
Also, booking patterns matter. This tour is often booked about 25 days in advance on average, so waiting too long can limit your options for that same week.
Who This Tour Fits Best
This is a great match if you want Tokyo at night but you do not want to guess everything. You get coaching on:
- Street photography composition
- Candid moments without stage direction
- Long exposure look for neon and crowds
You will likely enjoy it most if:
- You are comfortable walking in busy areas for a few hours
- You want a structured route instead of random roaming
- You want practical help for either your smartphone or camera
- You like night atmosphere, neon signs, and people in motion
If you prefer very slow, relaxed sightseeing with minimal photography pressure, you might find the instruction-focused format a bit intense. The tour is designed for shooting, and that is the point.
Should You Book This Cyberpunk Street Photo Tour?
Book it if you want a fast, focused way to improve your night photos in Tokyo, especially if you plan to shoot neon and crowds. The combination of Shinjuku energy, Memory Lane detail, and Shibuya Crossing spectacle is a smart photo mix, and the small group size helps you get actual feedback.
Skip it or adjust your expectations if you want a purely casual stroll or if you are worried about keeping up with a brisk pace in dense crowds. Also, Shinjuku stations can be confusing, so come early and be precise at the meeting spot.
If your goal is to leave with better-looking night images and a clearer plan for what to try on your own later, this tour is one of the easier ways to get there in a single evening.
FAQ
How long is the Tokyo Cyberpunk Street Photo Tour?
The tour is about 3 hours (approx.), and the experience is described as a 2.5-hour small-group photo adventure.
Where does the tour start and end?
It starts at Happy Lemon Keio Shinjuku Shop, 1-chōme-1-4 Nishishinjuku, Shinjuku City, Tokyo 160-0023. It ends at 2-chōme-2-1 Dōgenzaka, Shibuya, Tokyo 150-0043.
What is included in the price?
The tour includes a professional photography instructor. A mobile ticket is used.
Do I need a camera, or will a smartphone work?
The tour is designed for both a camera or your smartphone, and you will receive photography tips for night street scenes using either.
Is transportation included?
You will travel by train from Shinjuku to Shibuya at your own expense. Bus fare is listed as not included.
What if the weather is bad?
The experience requires good weather. If it is canceled due to poor weather, you will be offered a different date or a full refund. The experience is non-refundable and cannot be changed for any reason.
Fresh options around Tokyo
- Tokyo: Nikko Kegon Falls Lake Chuzenji Toshogu Temple & More★ 4.9 · 12 reviews
- Tokyo: Samurai History Walking Tour★ 5.0 · 12 reviews
- Harajuku: Kawaii Fashion and Pop-Culture Tour★ 4.7 · 12 reviews
- Tokyo: Mt. Fuji & Lake Kawaguchi Instagram Full Day Trip★ 4.1 · 12 reviews
- Shibuya Tokyo: Modern Kintsugi Workshop in Shibuya★ 5.0 · 12 reviews
- Tokyo: GTR Guided Daikoku Experience at Night★ 5.0 · 12 reviews
- Tokyo: Daikoku JDM Car Culture Tour★ 4.6 · 12 reviews
- Mt Fuji Private Day Trip from Tokyo with English speaking driver★ 5.0 · 13 reviews
Photography Sessions, compared.
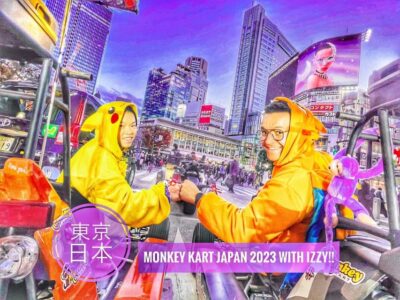
Best Go Kart Experience in Shibuya Crossing with Iconic Photos
Read our review →
Tokyo Go-Karting Experience: Shibuya Crossing with Photos
Read our review →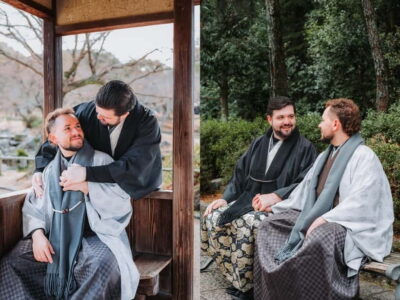
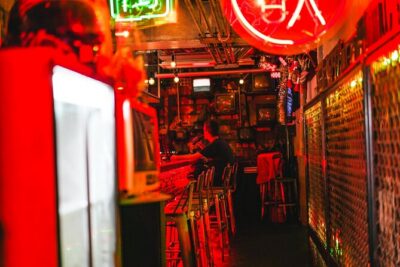
Tokyo by Night Photography Tour (Private Option Available)
Read our review →
![[Okinawa Blue Cave] Snorkeling with Private Guide+ Free Photos](https://review-japan.com/wp-content/uploads/okinawa-blue-cave-snorkeling-with-private-guide-free-photos-400x267.jpg)
[Okinawa Blue Cave] Snorkeling with Private Guide+ Free Photos
Read our review →
Your Private Vacation Photography Session In Kyoto
Read our review →Browse the lists this tour appears in